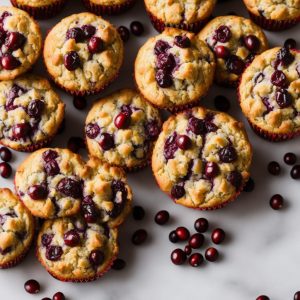
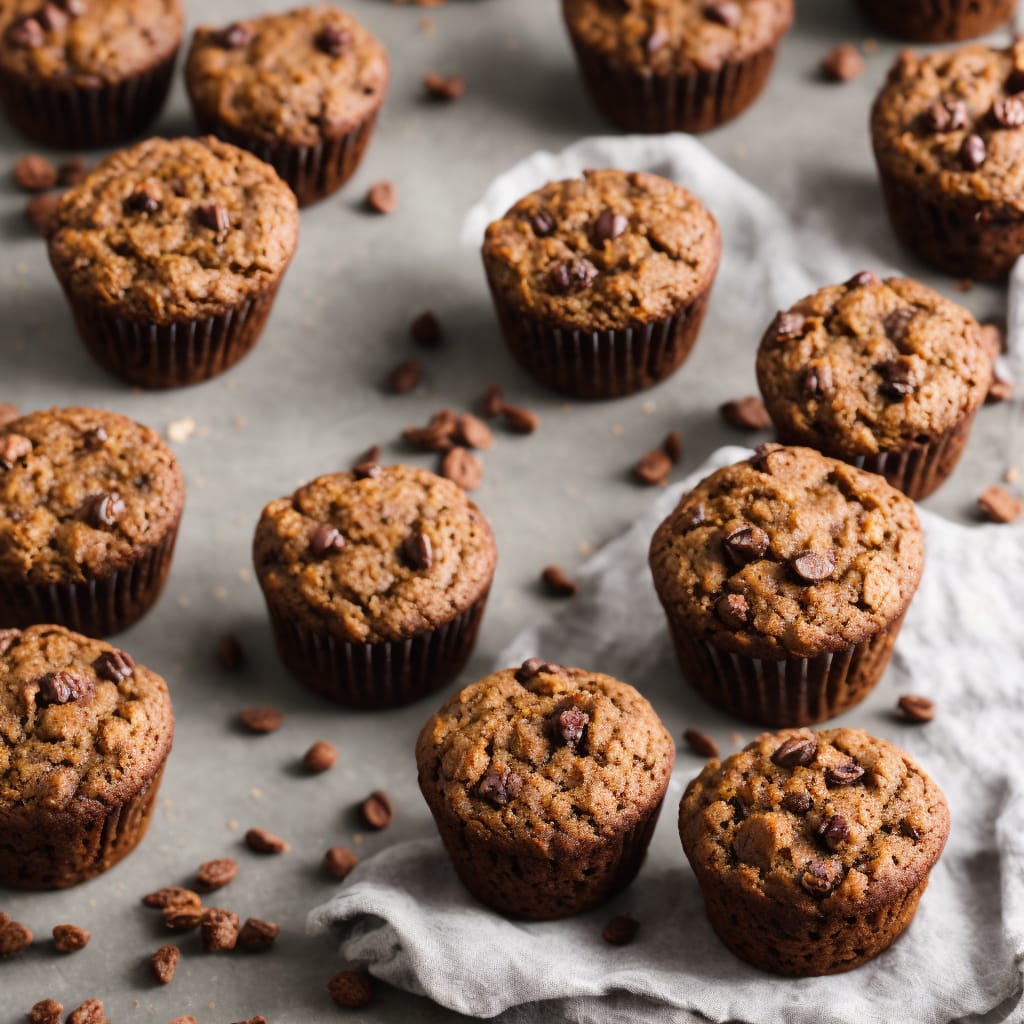
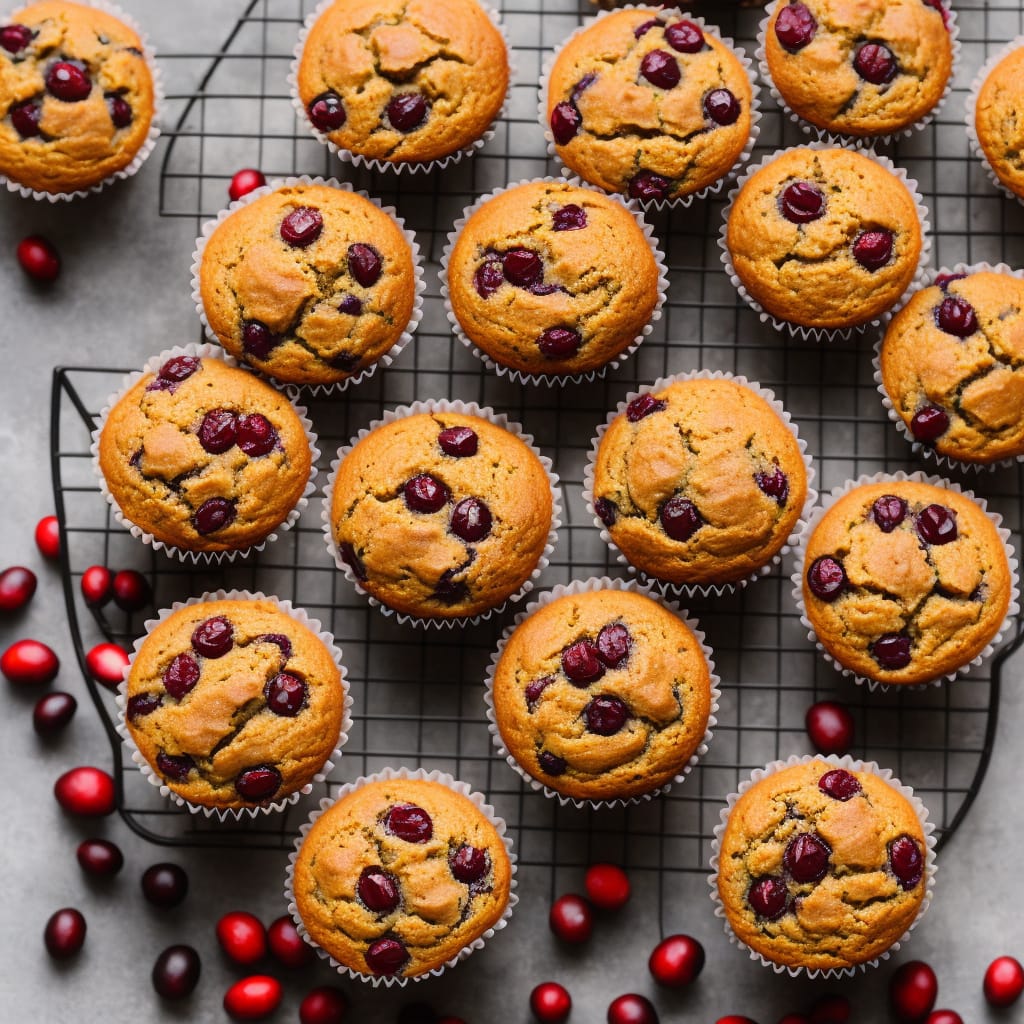
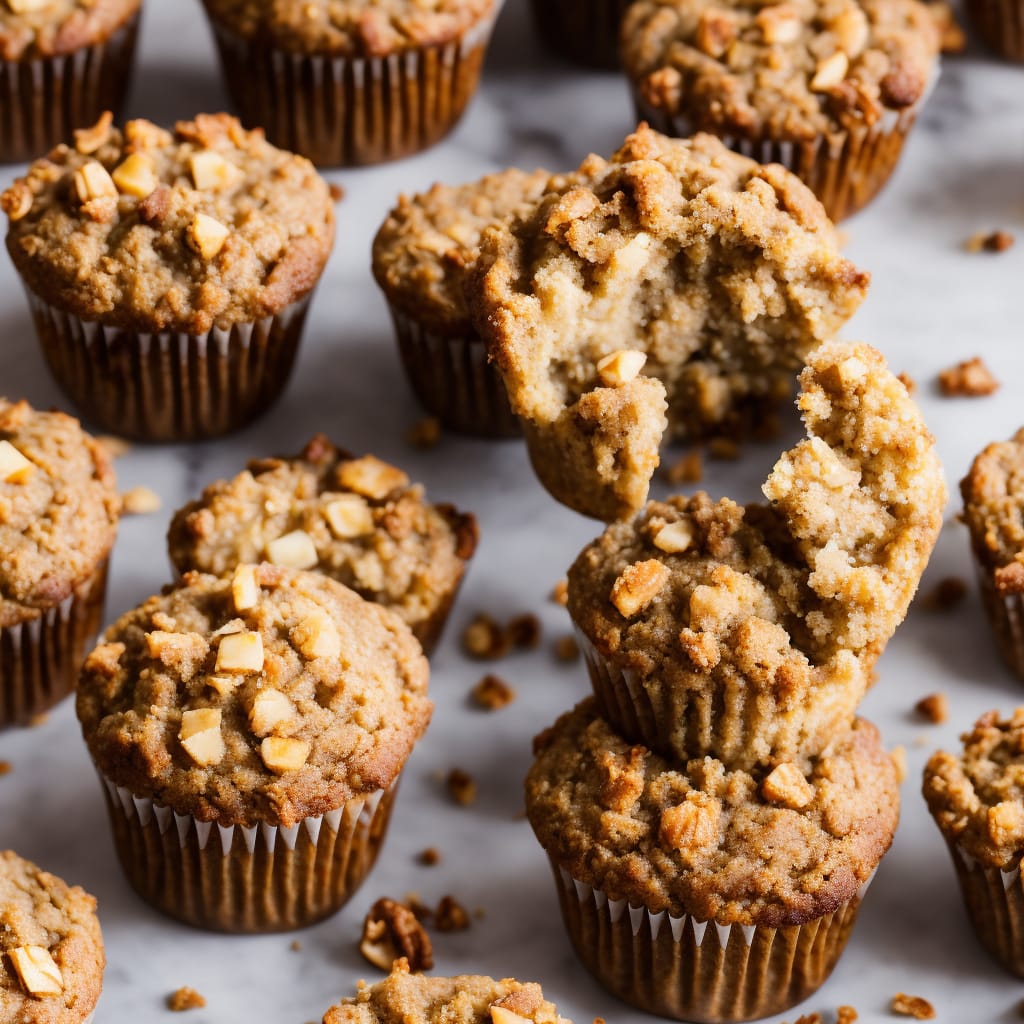
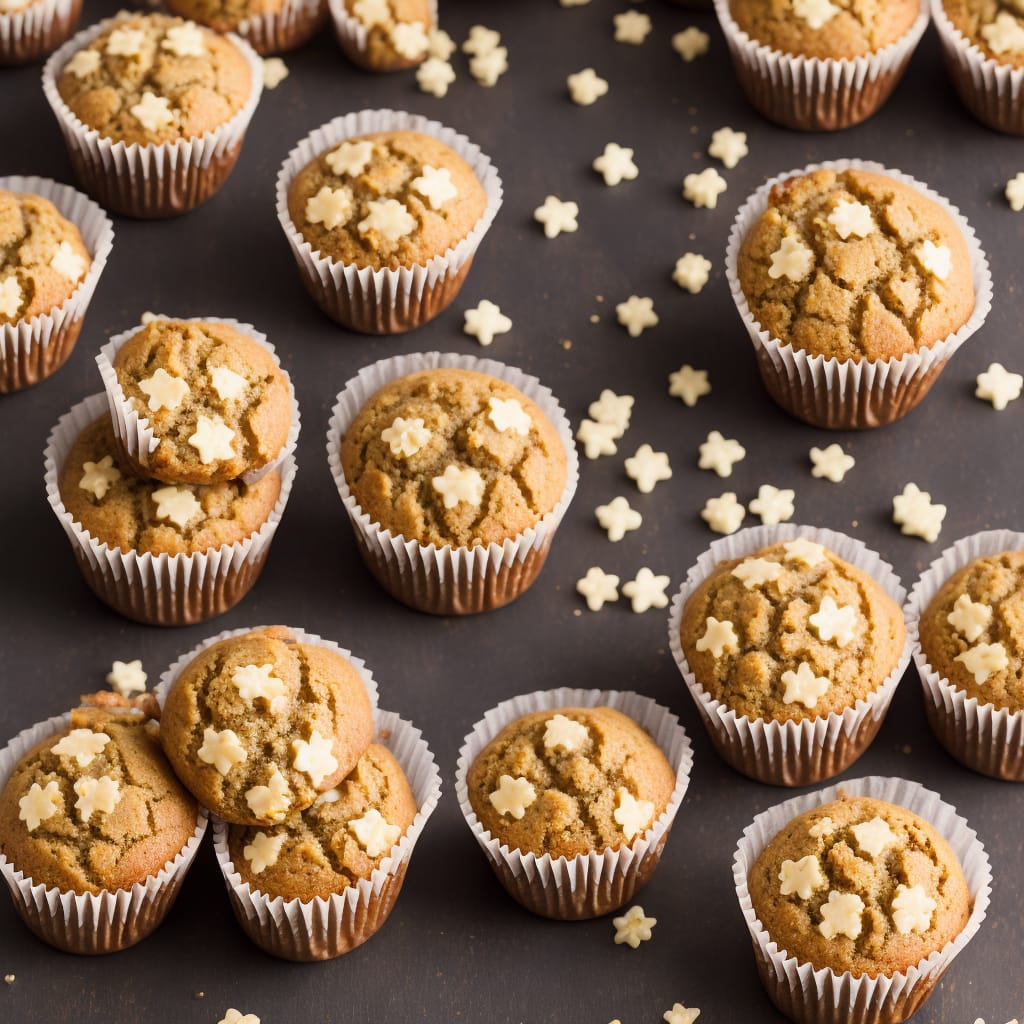
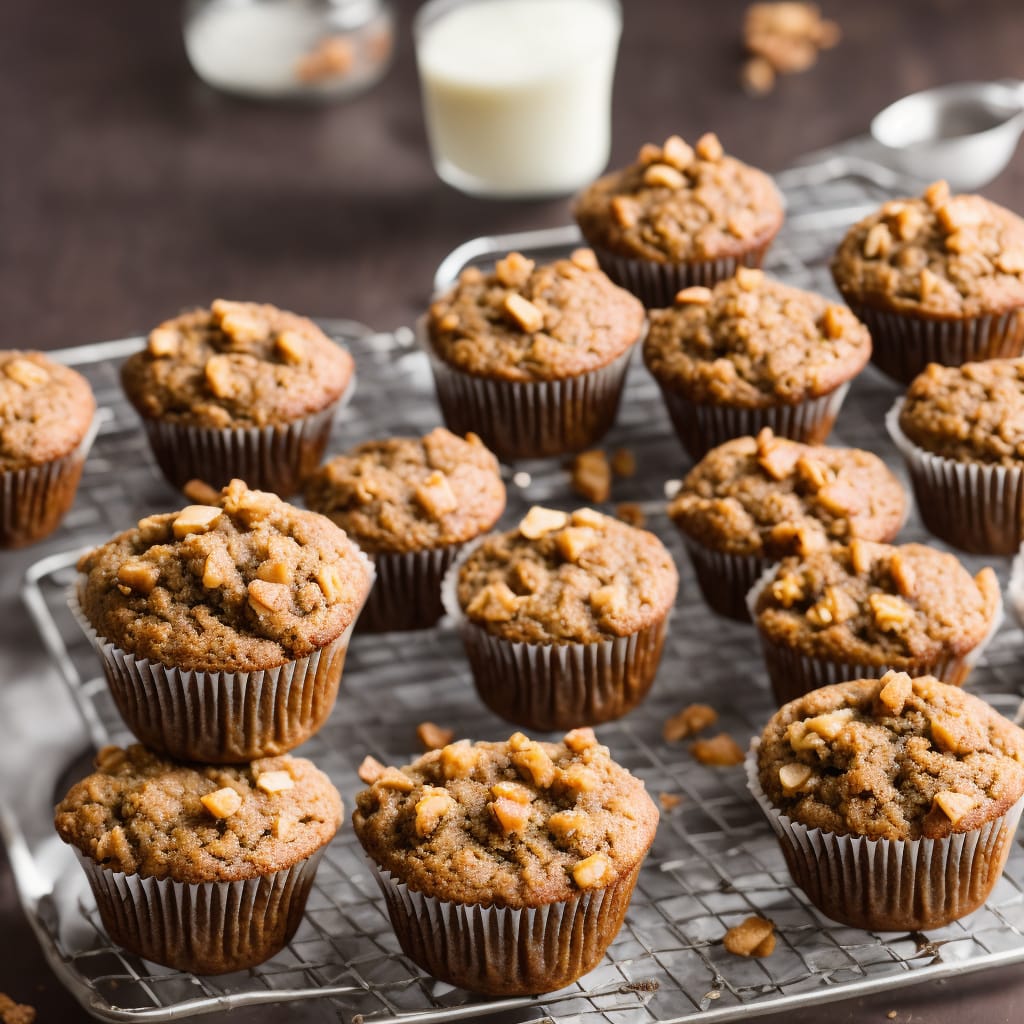
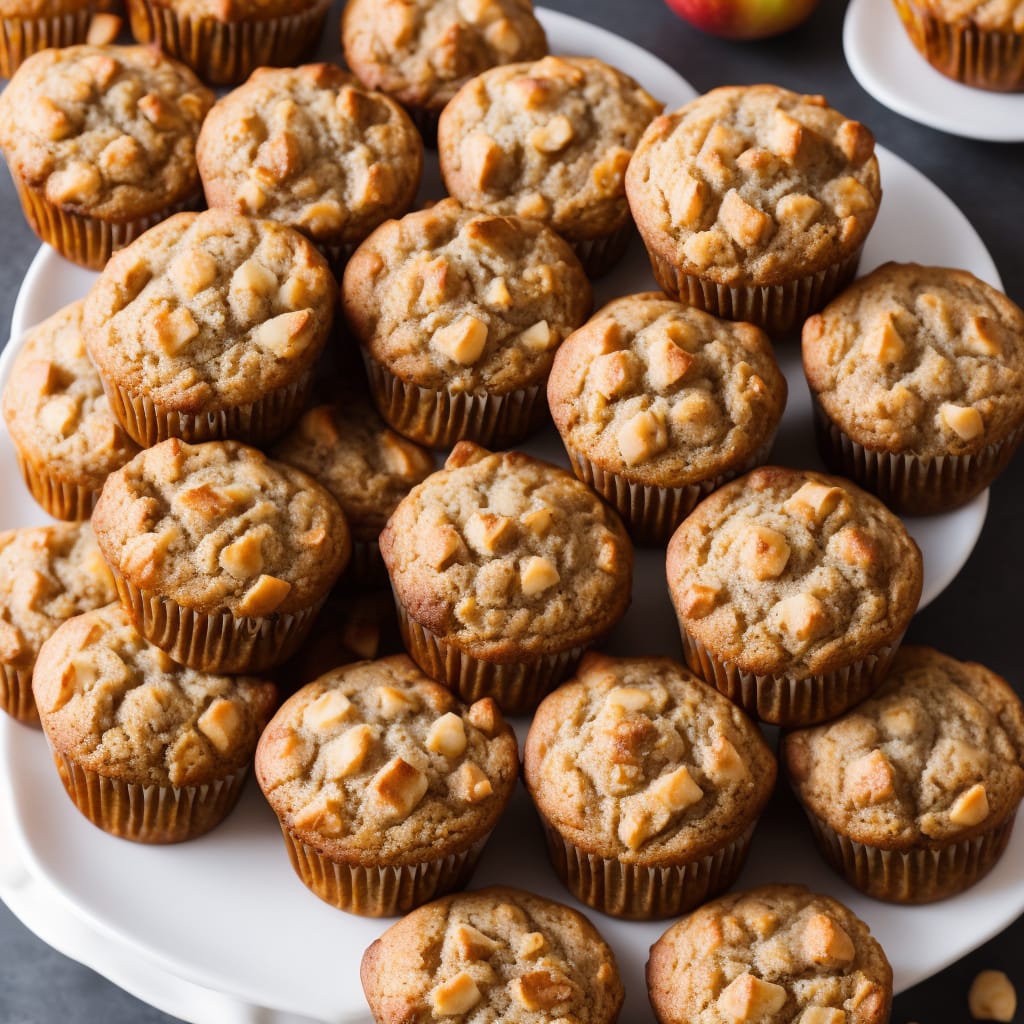
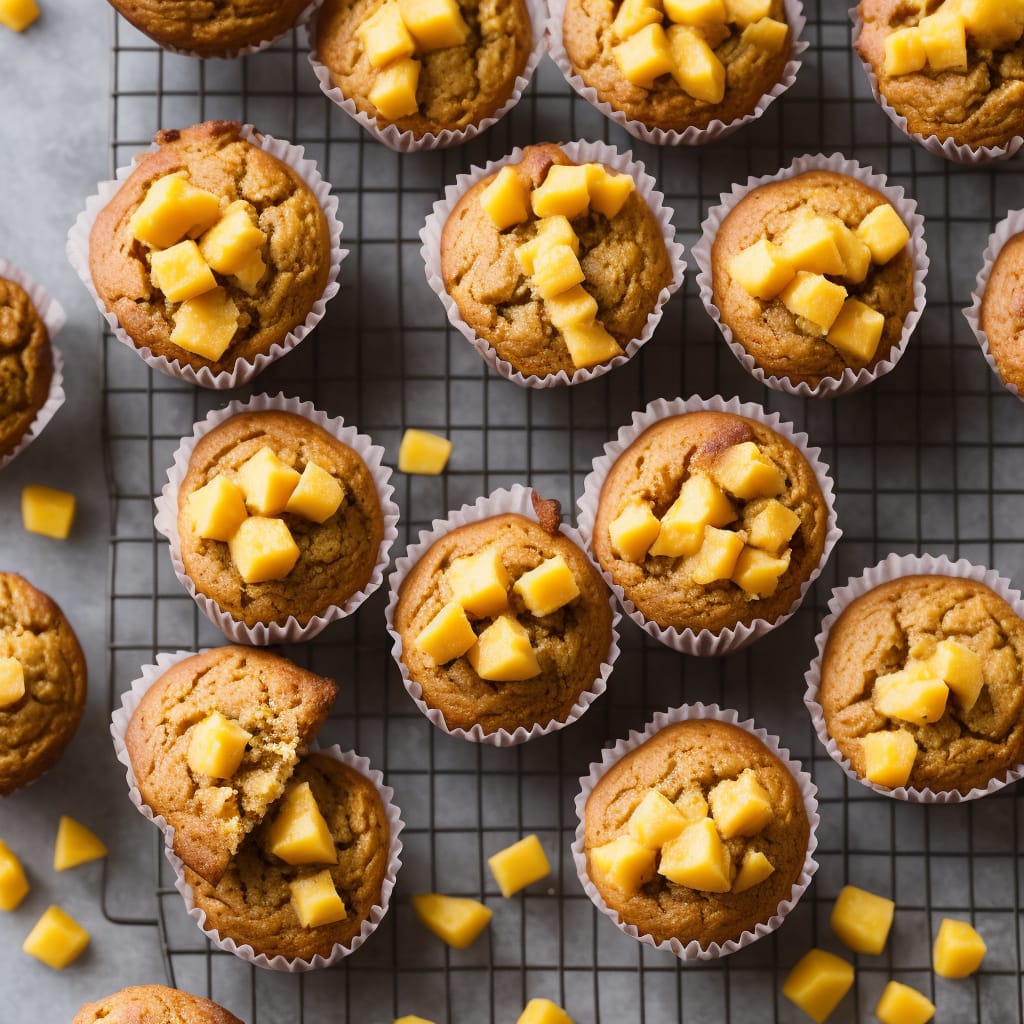
Prefer something a little denser than cupcakes? Look no further, muffins got you covered! These easy muffin recipes will help you create baked treats that are sure to win the hearts of many.
Read More
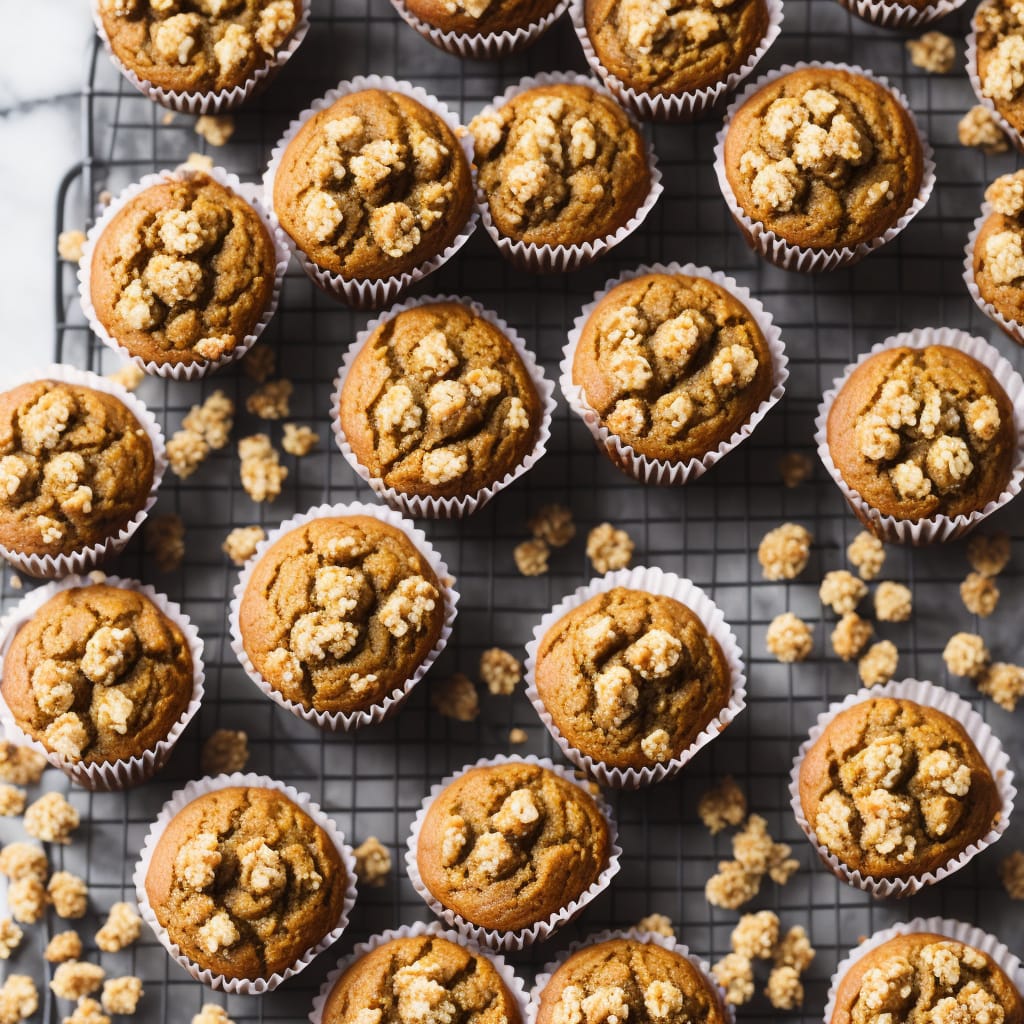
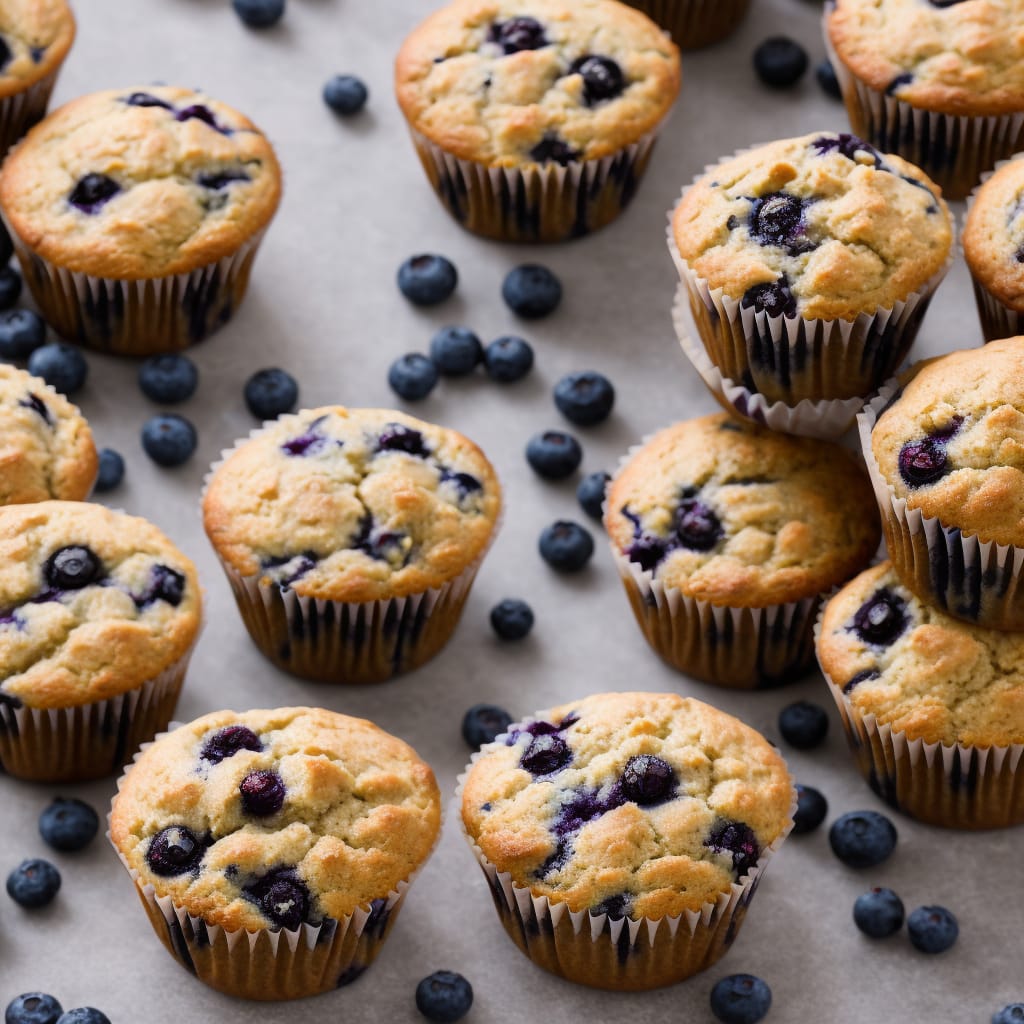
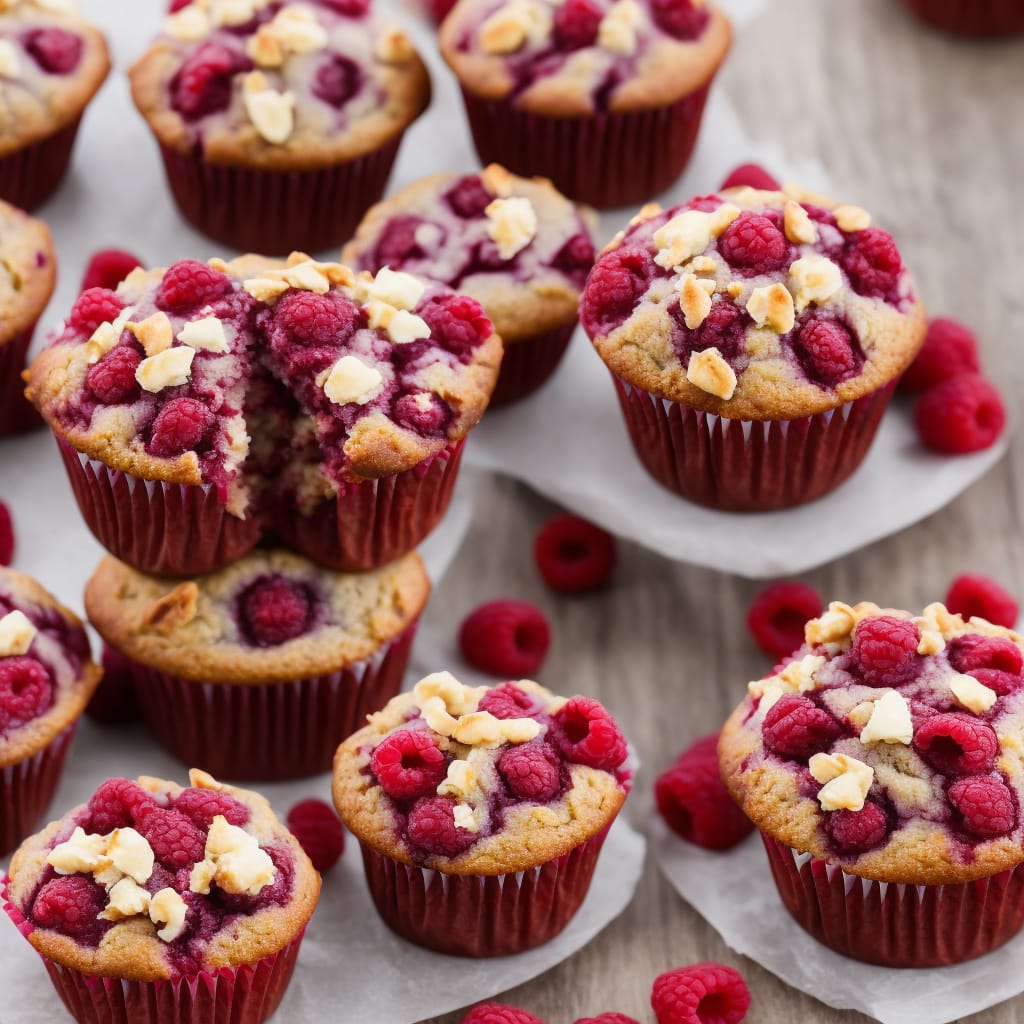
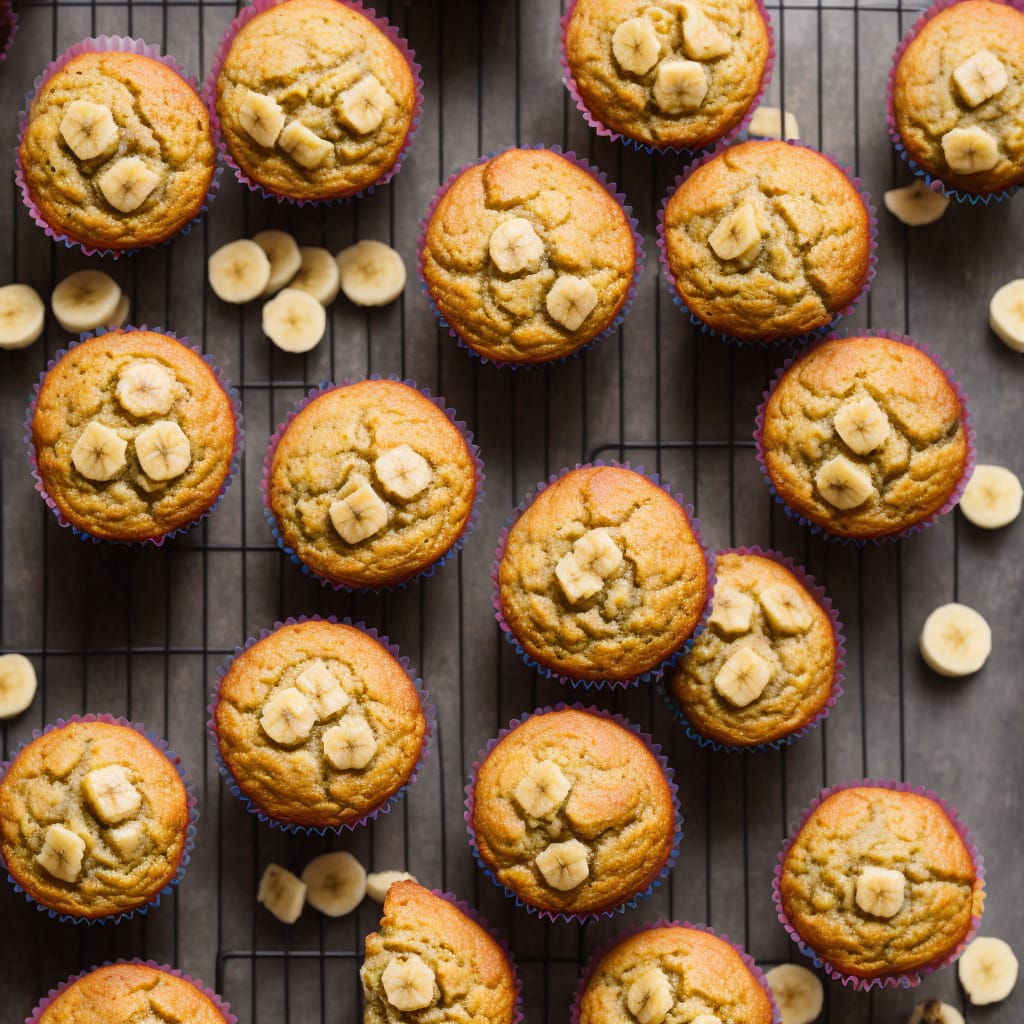
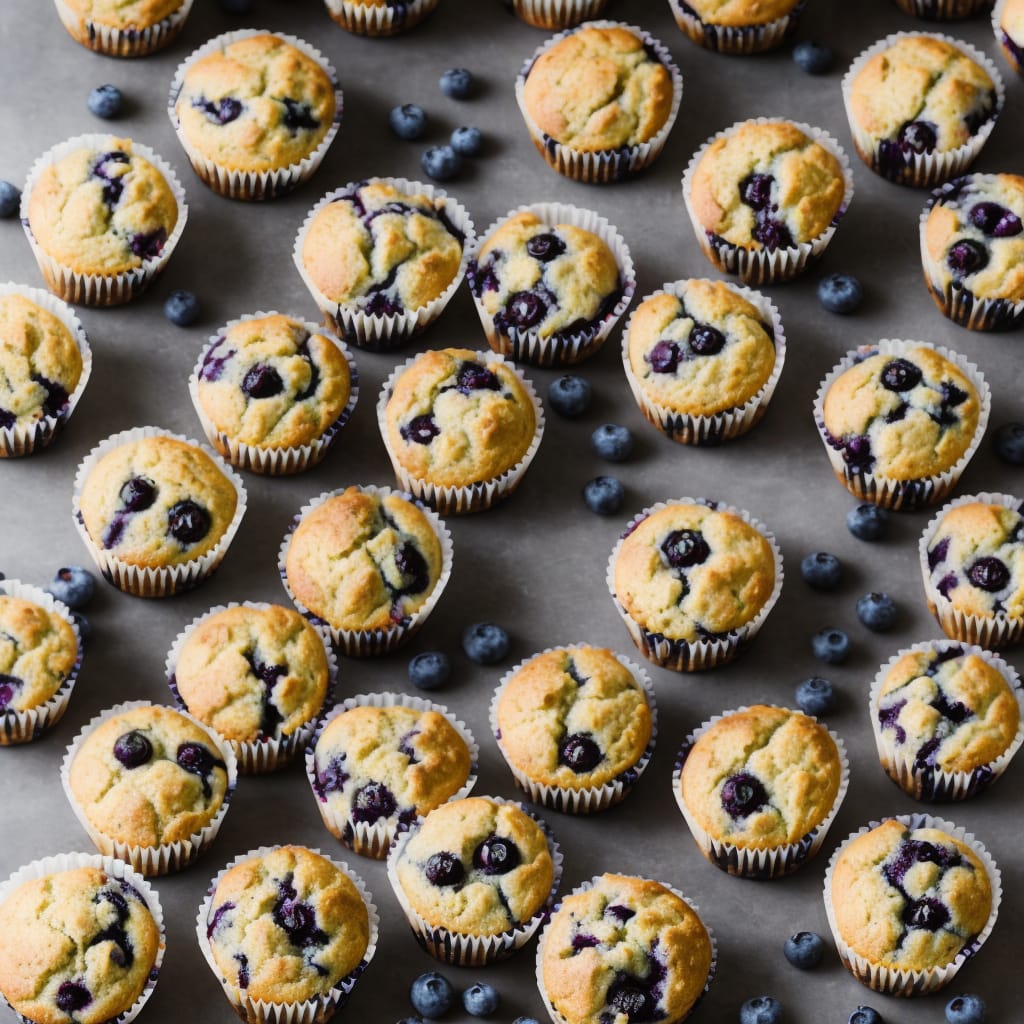
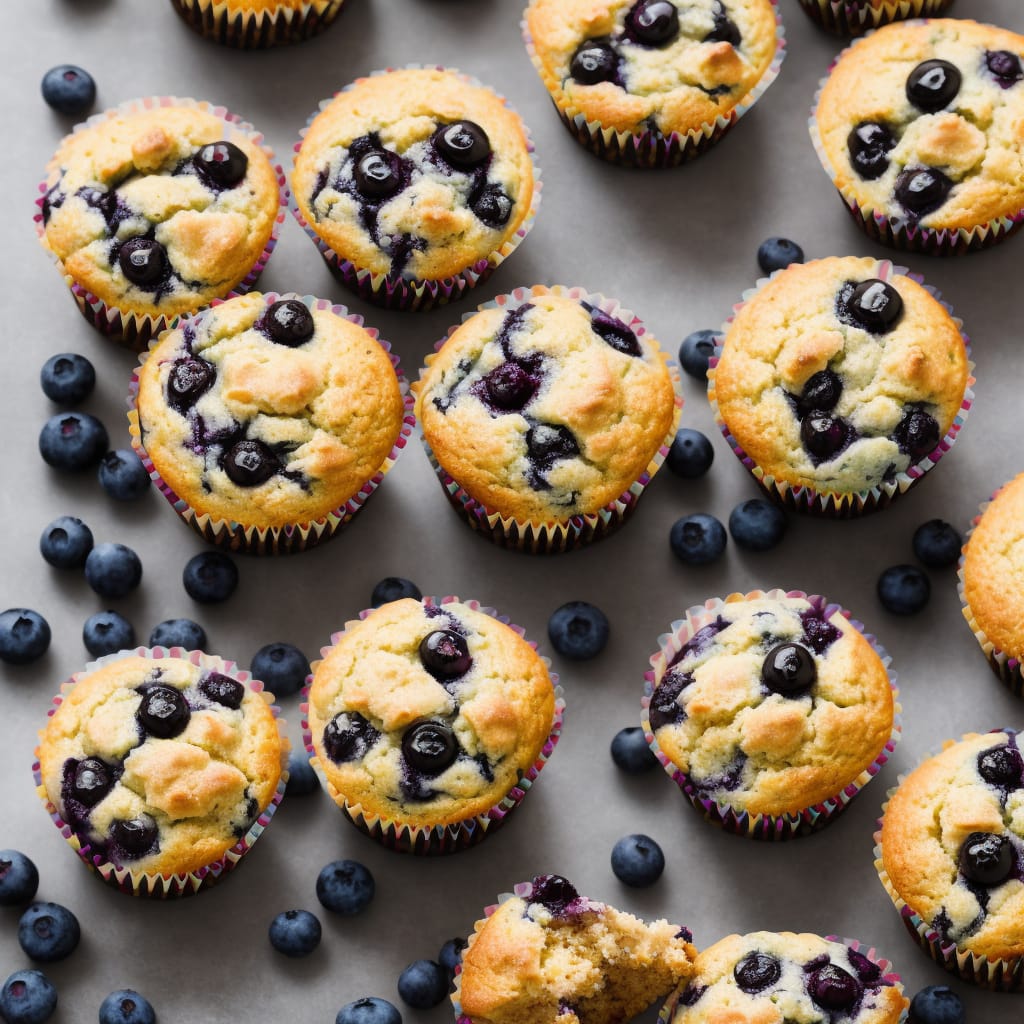
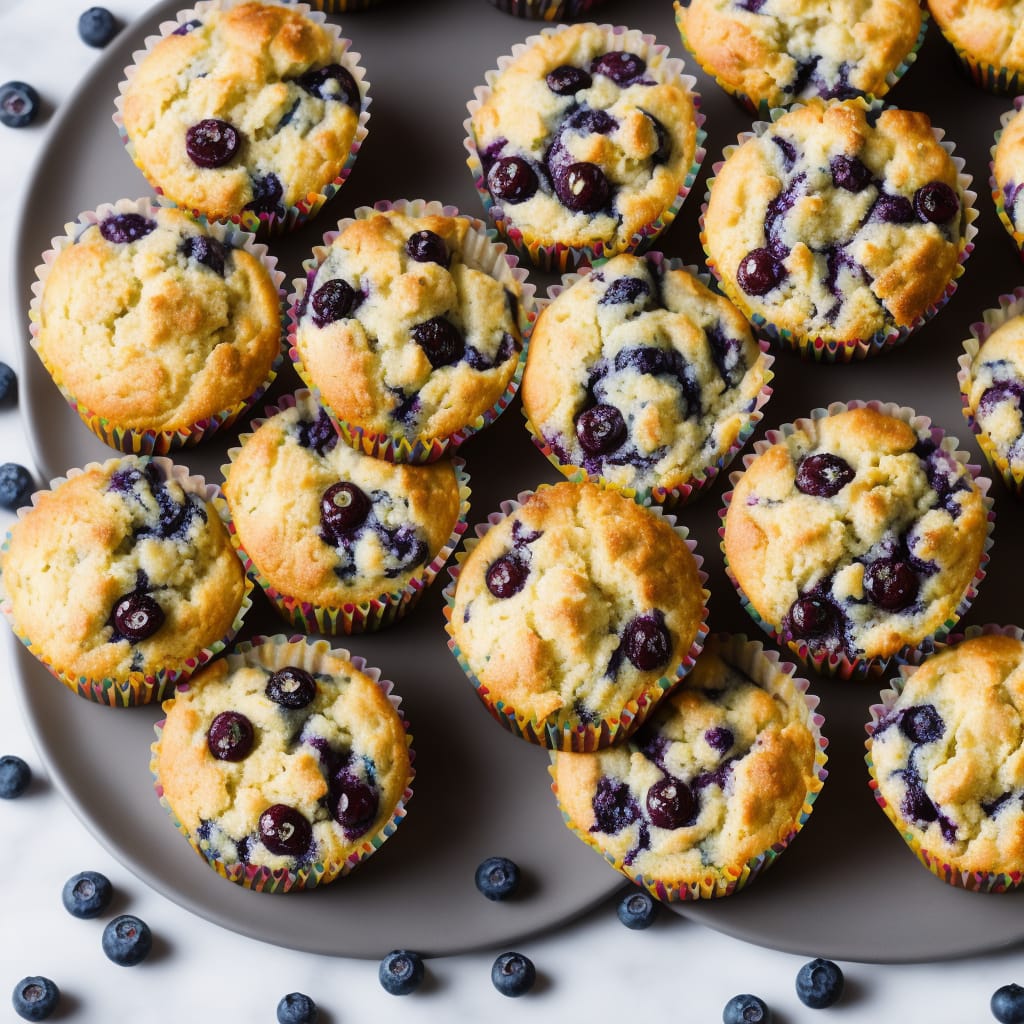
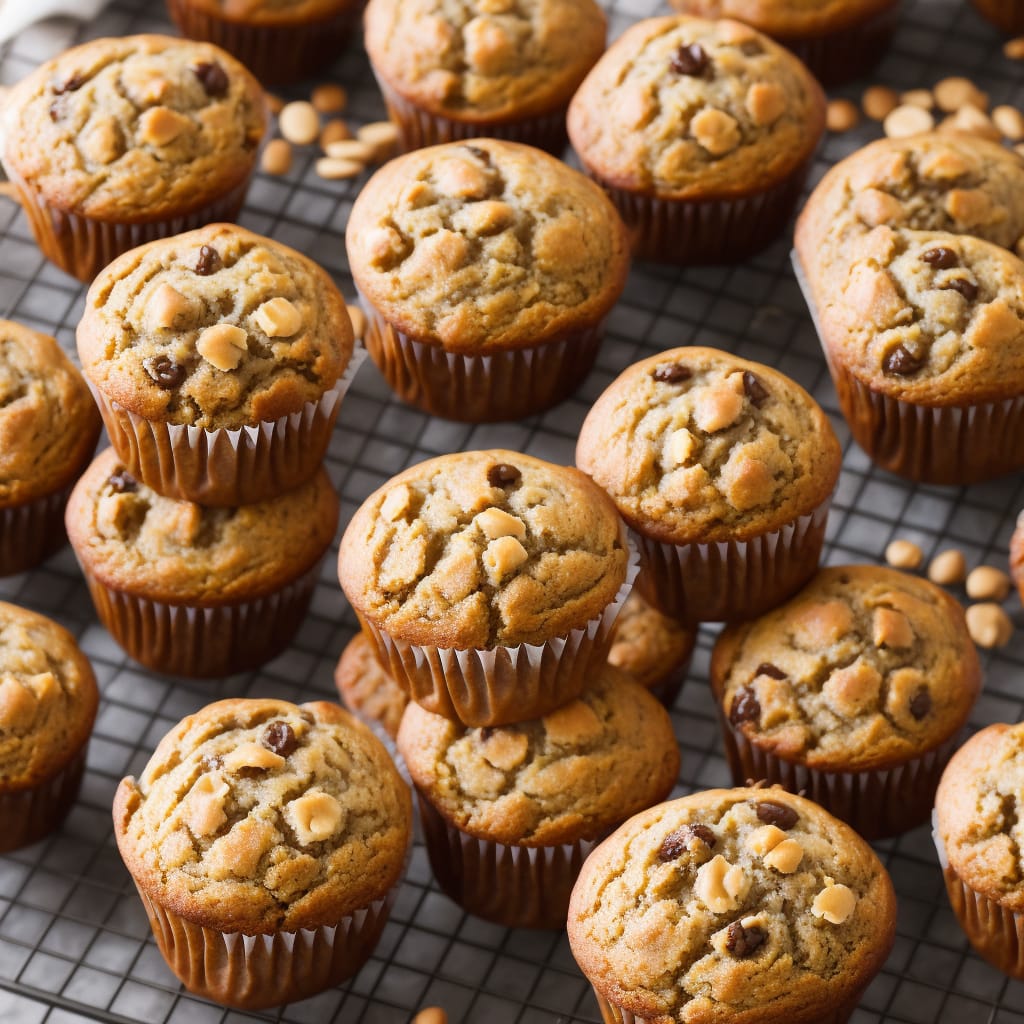
Prefer something a little denser than cupcakes? Look no further, muffins got you covered! These easy muffin recipes will help you create baked treats that are sure to win the hearts of many.
Read More
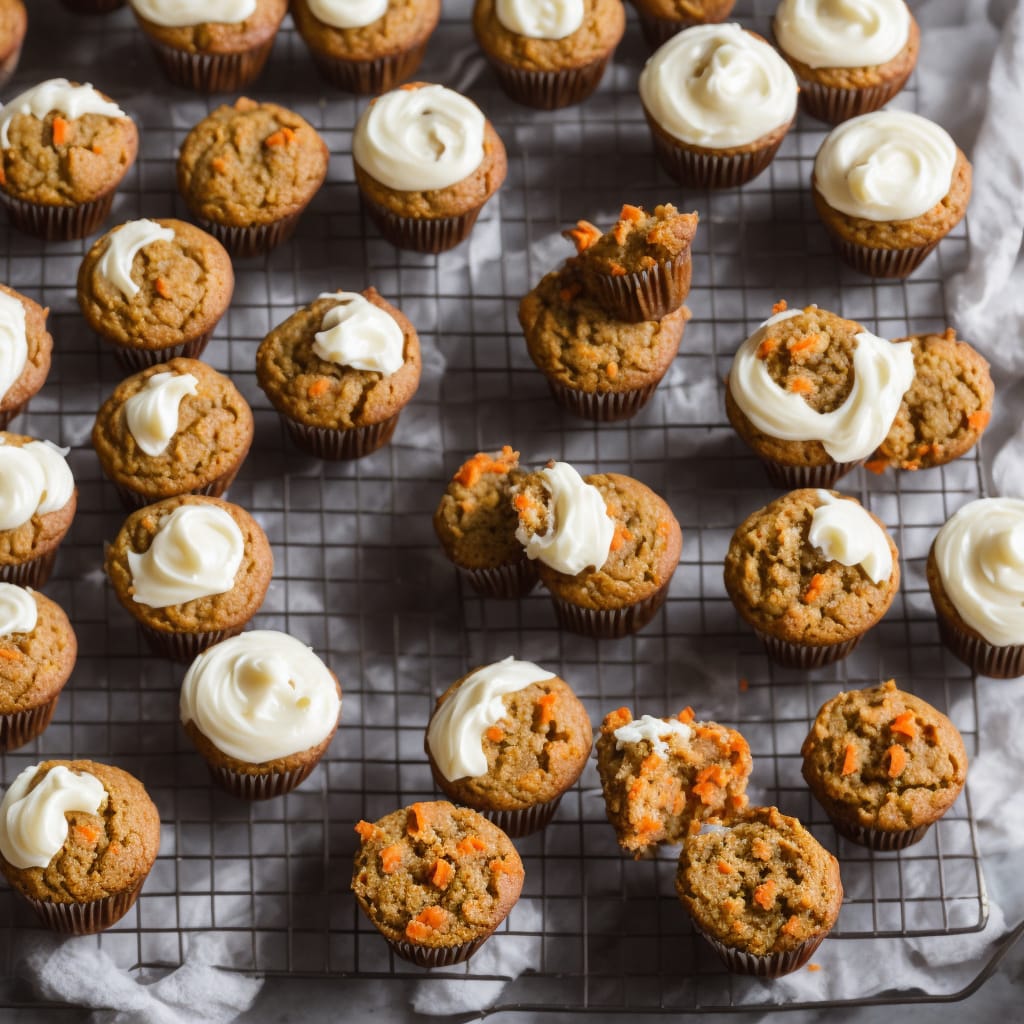
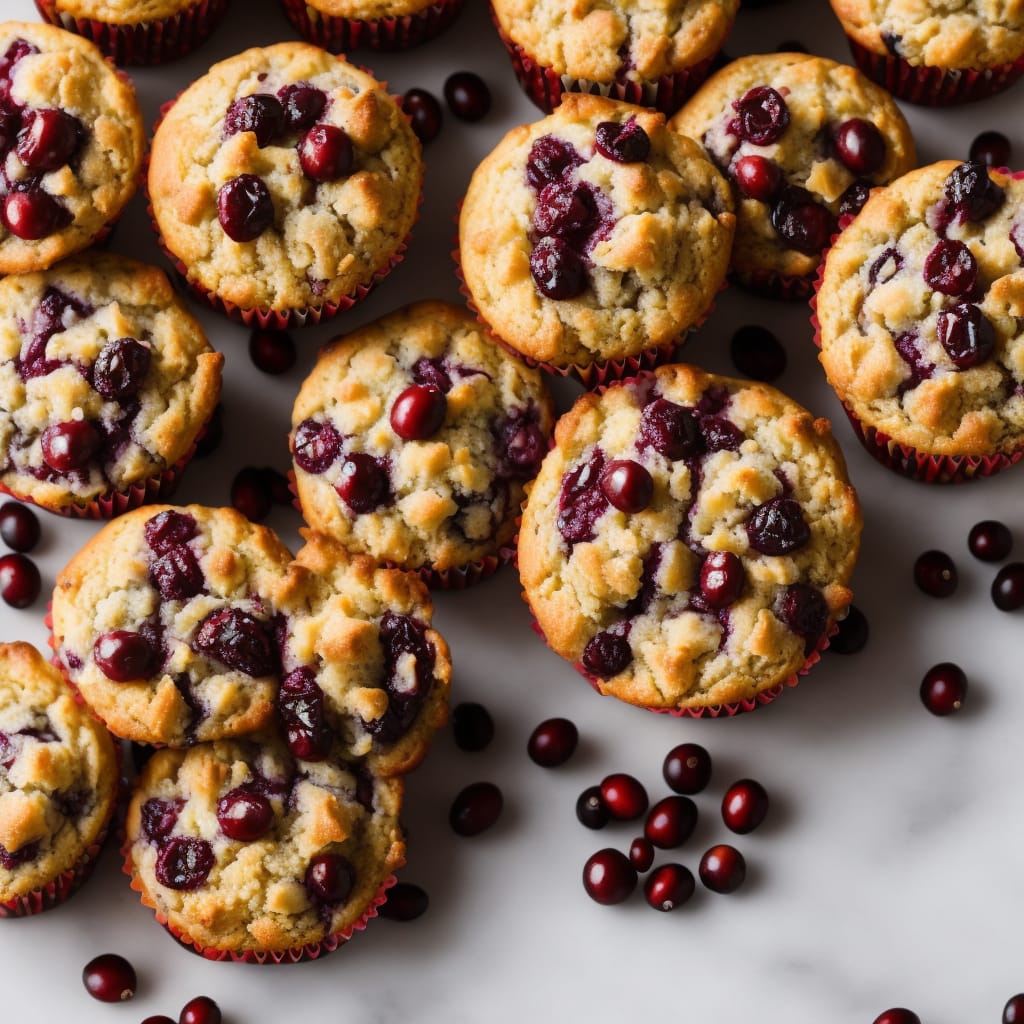
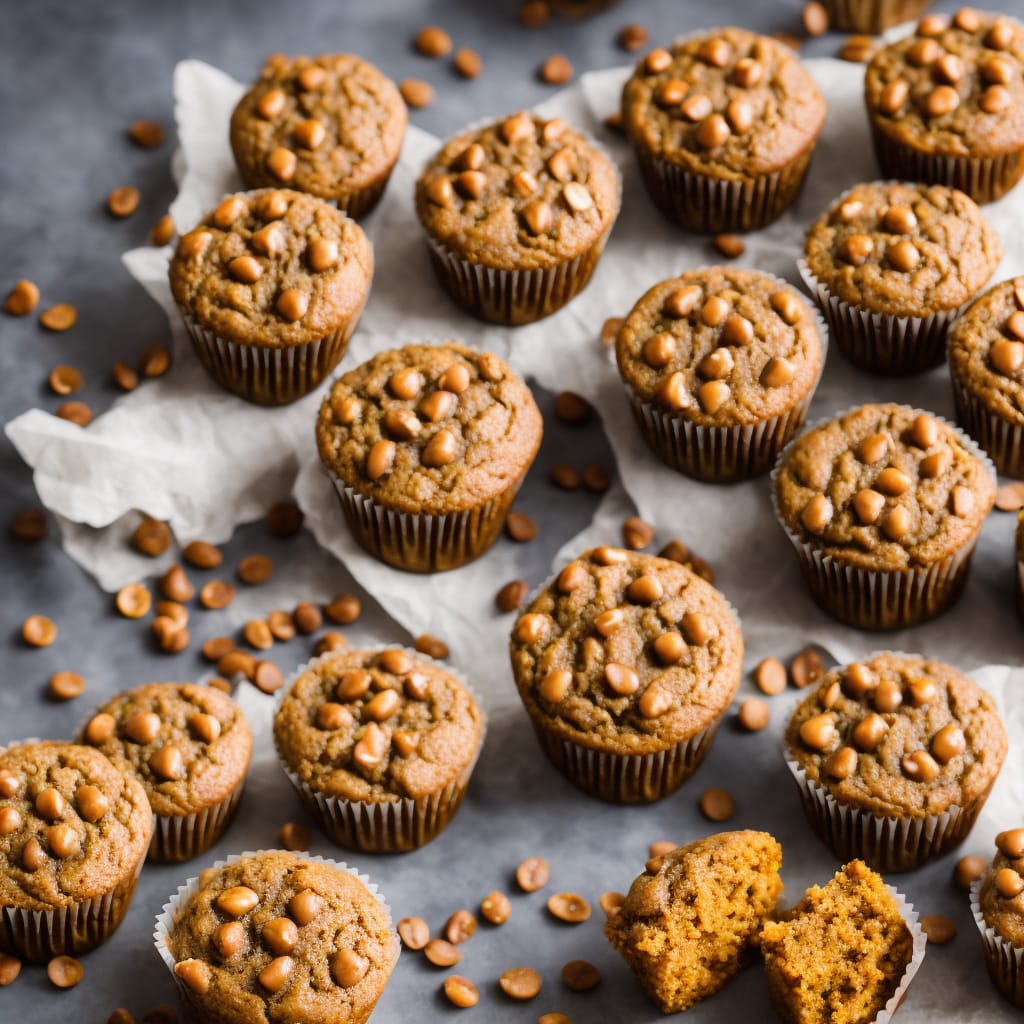
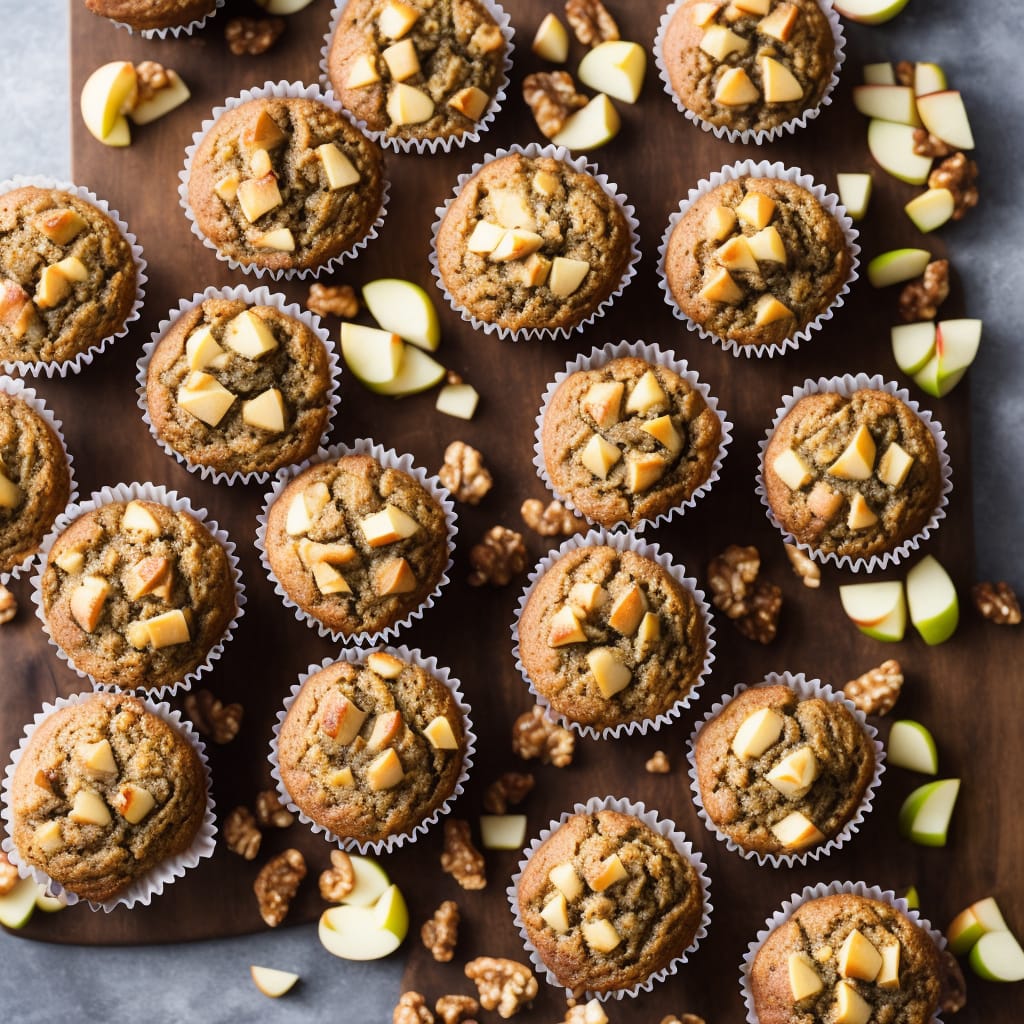
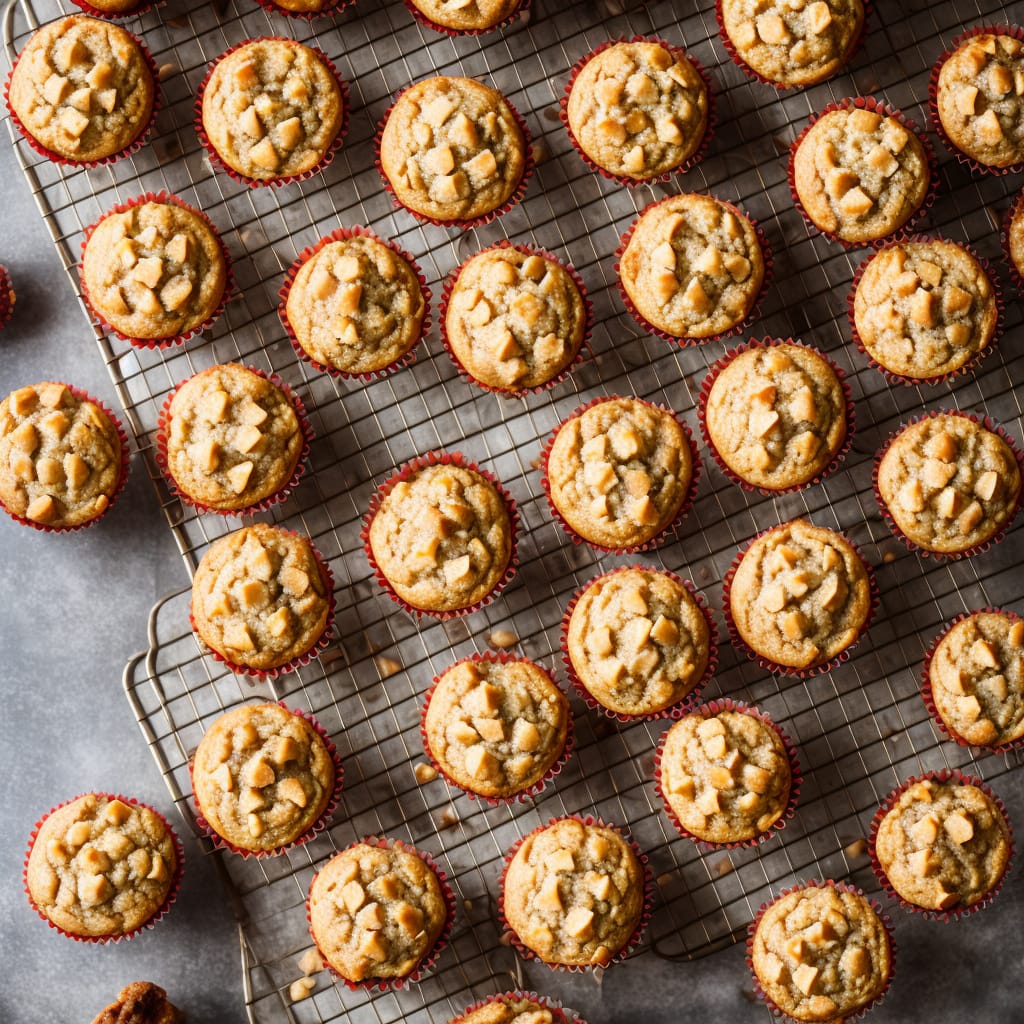
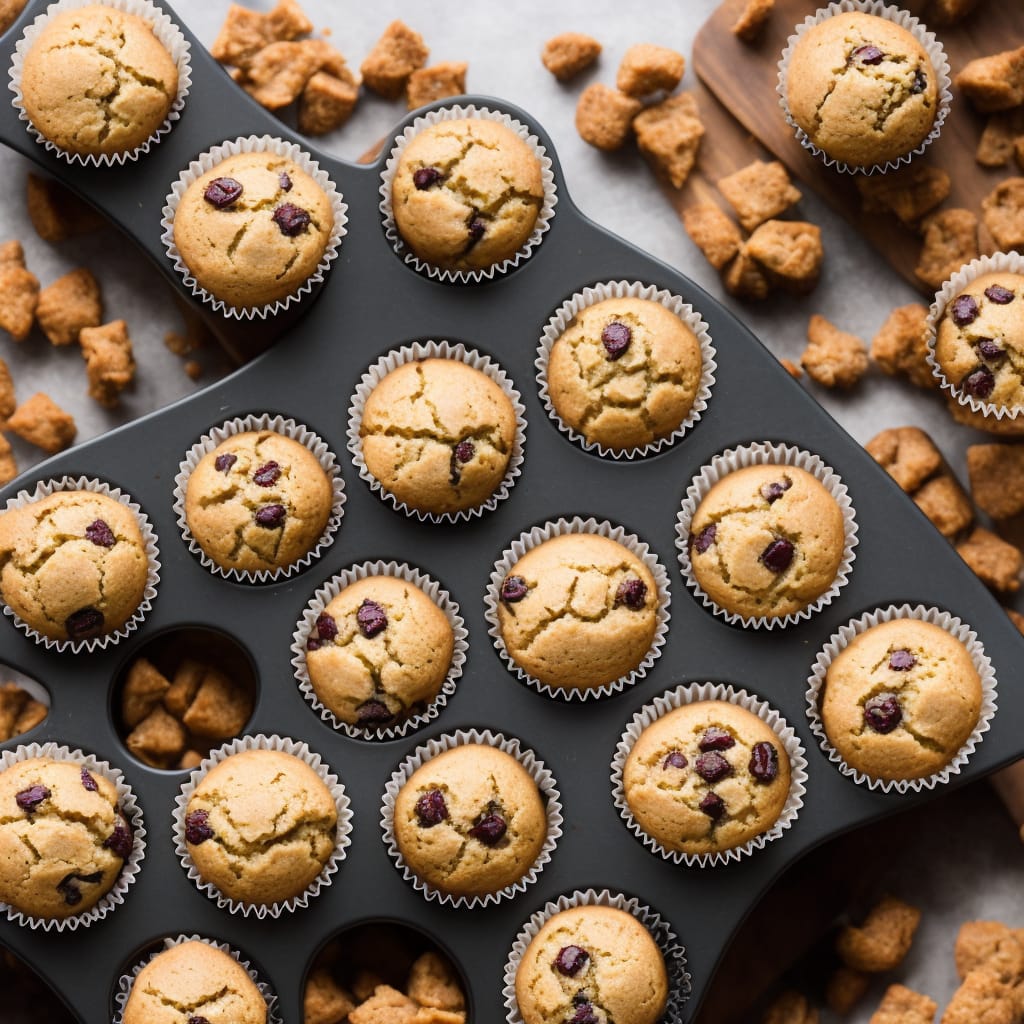
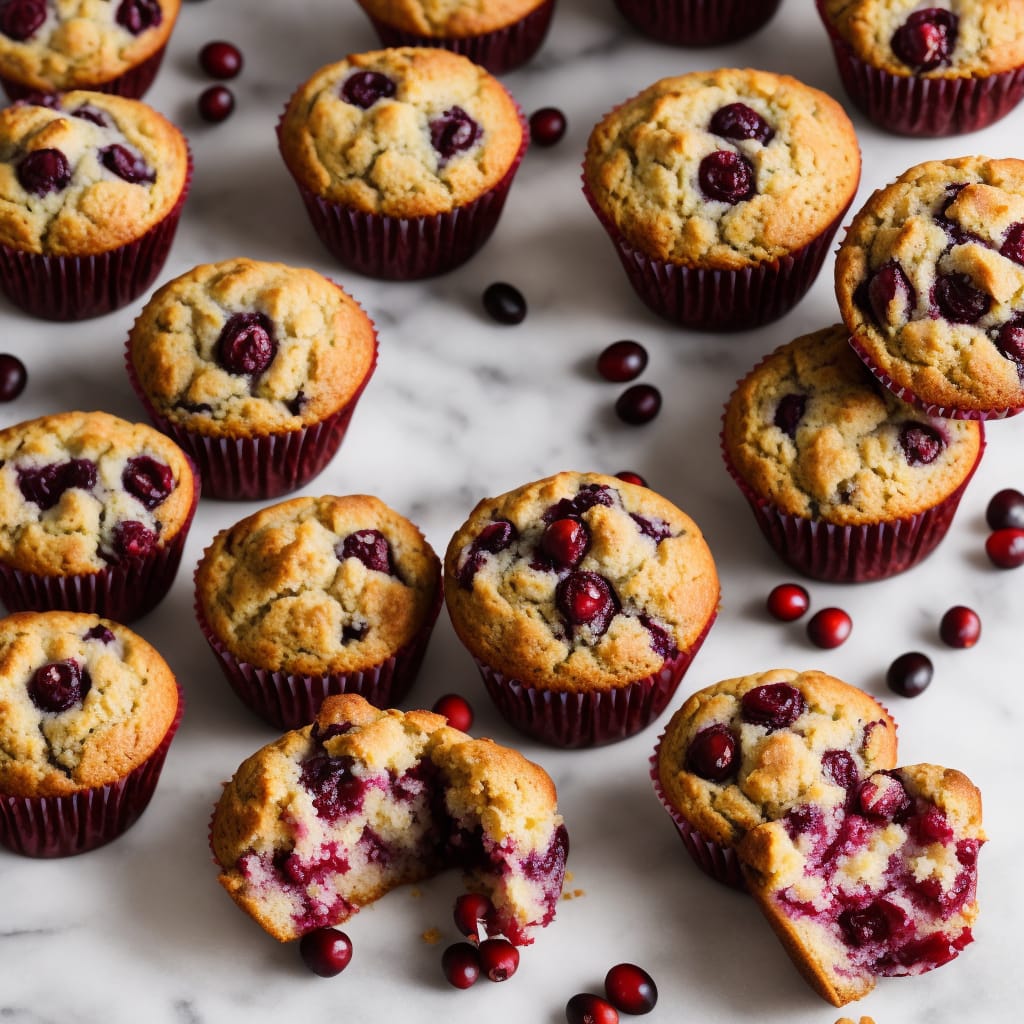
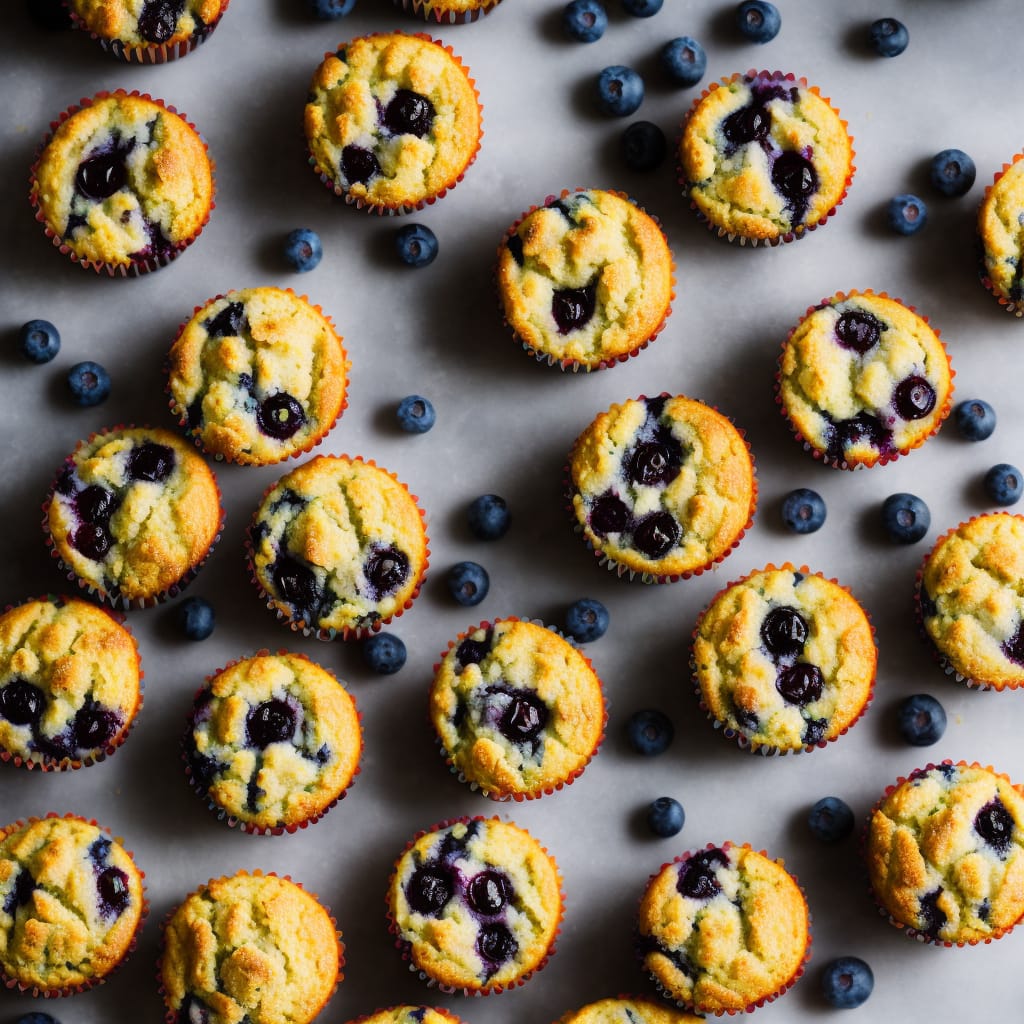
Prefer something a little denser than cupcakes? Look no further, muffins got you covered! These easy muffin recipes will help you create baked treats that are sure to win the hearts of many.
Read More
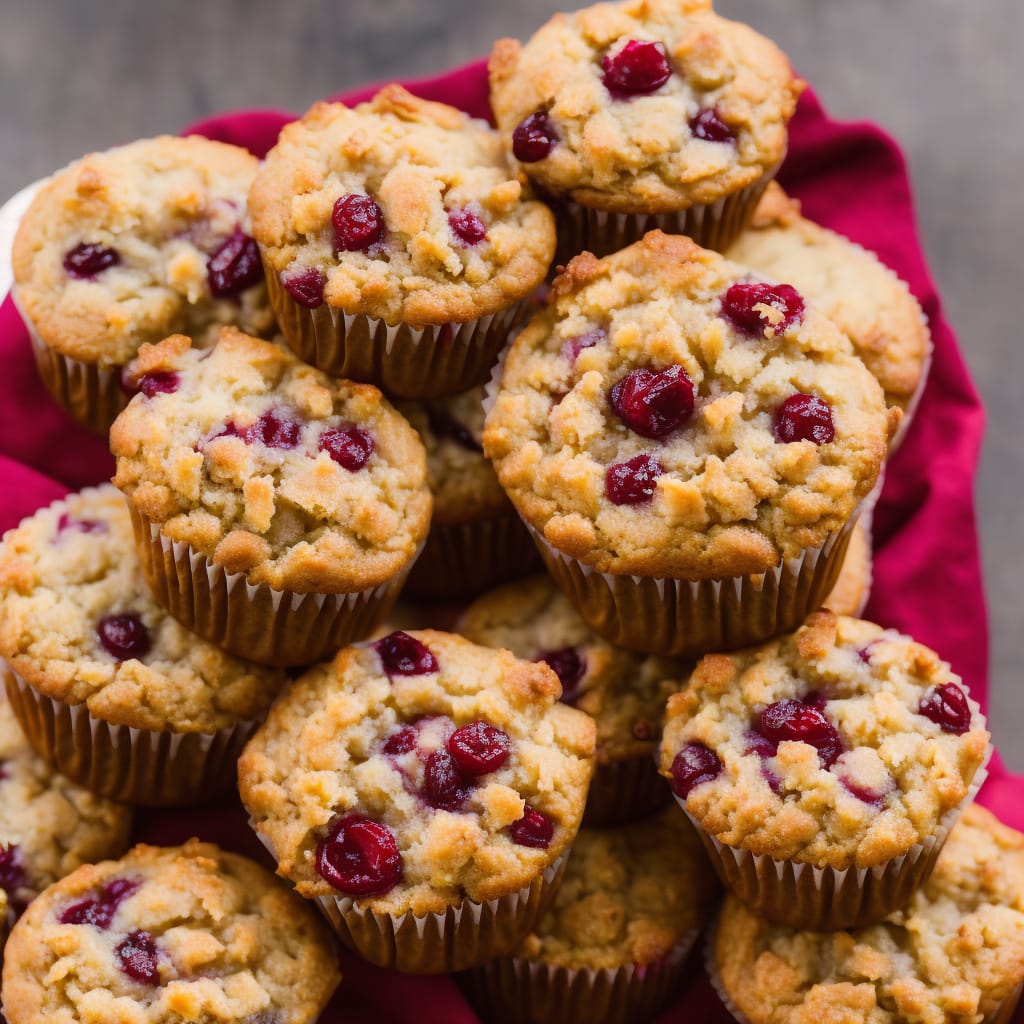
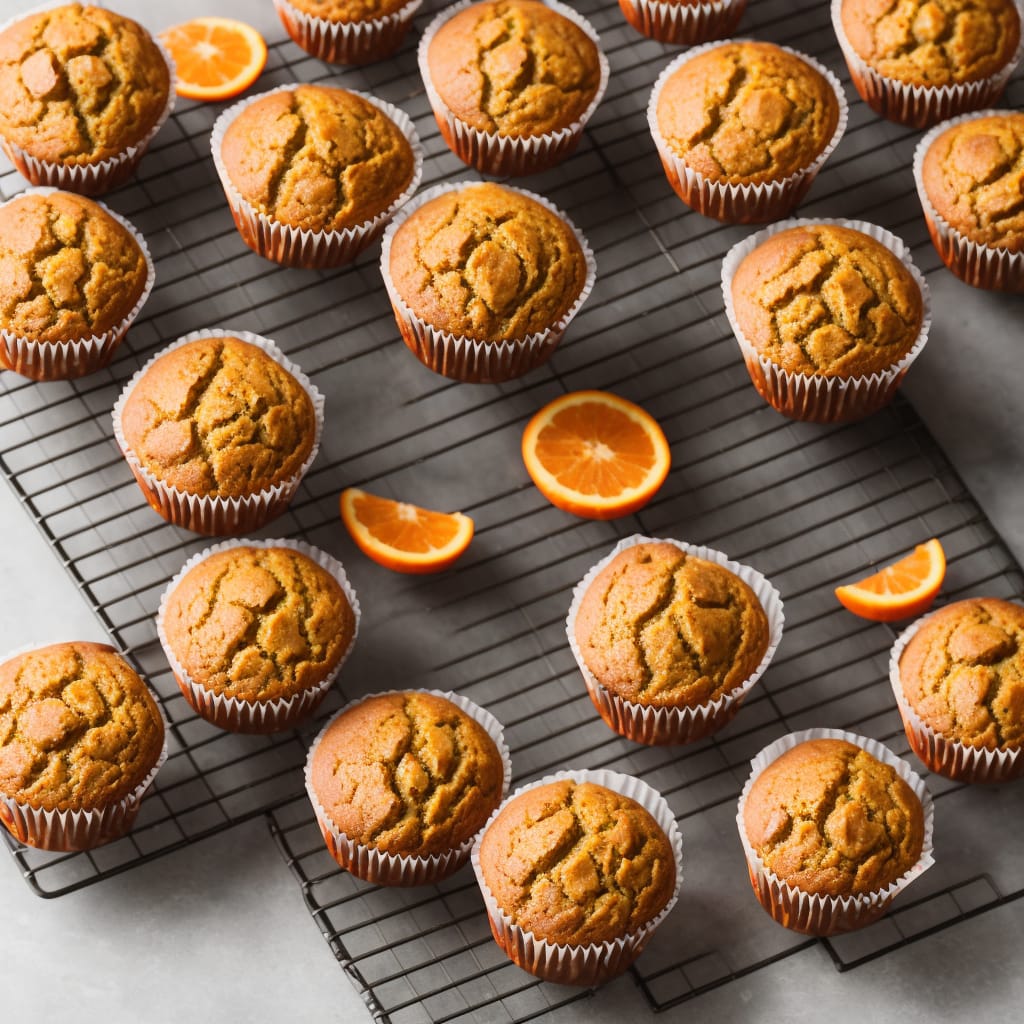
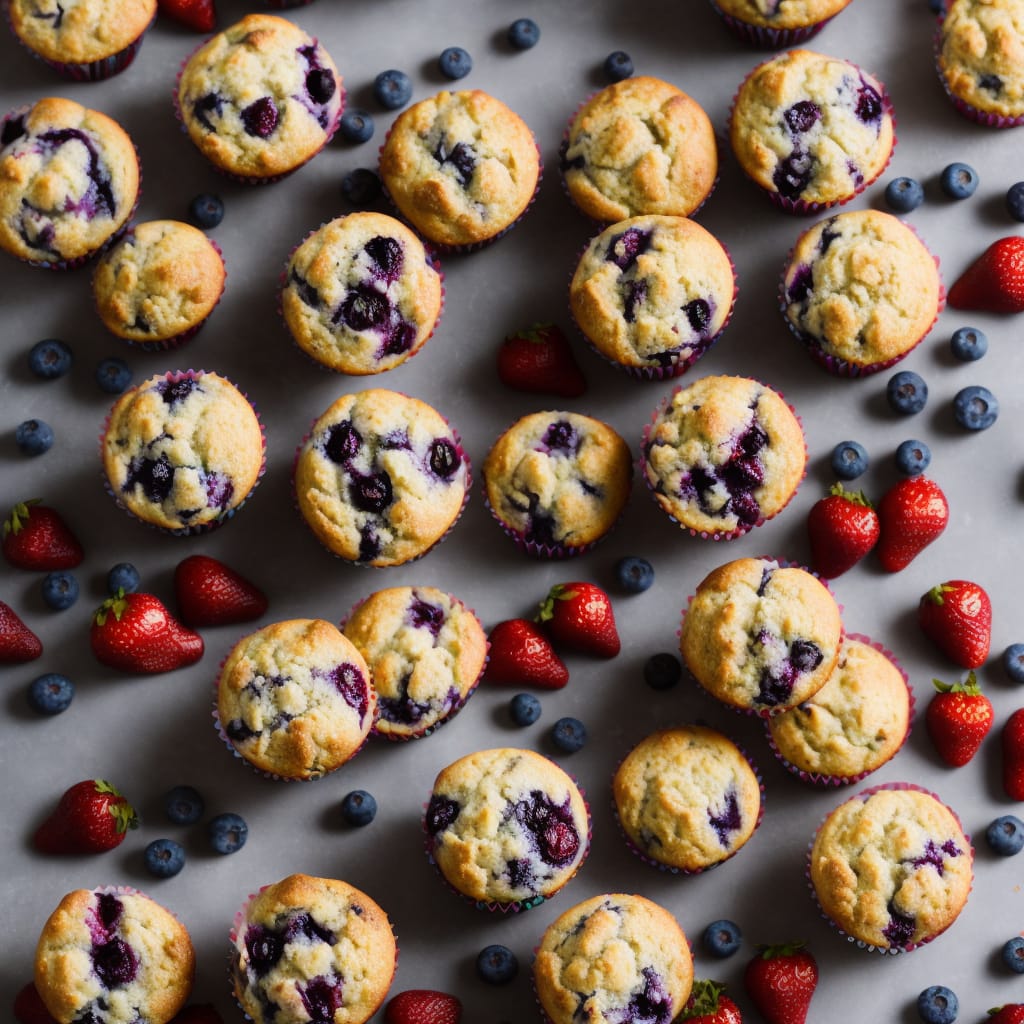
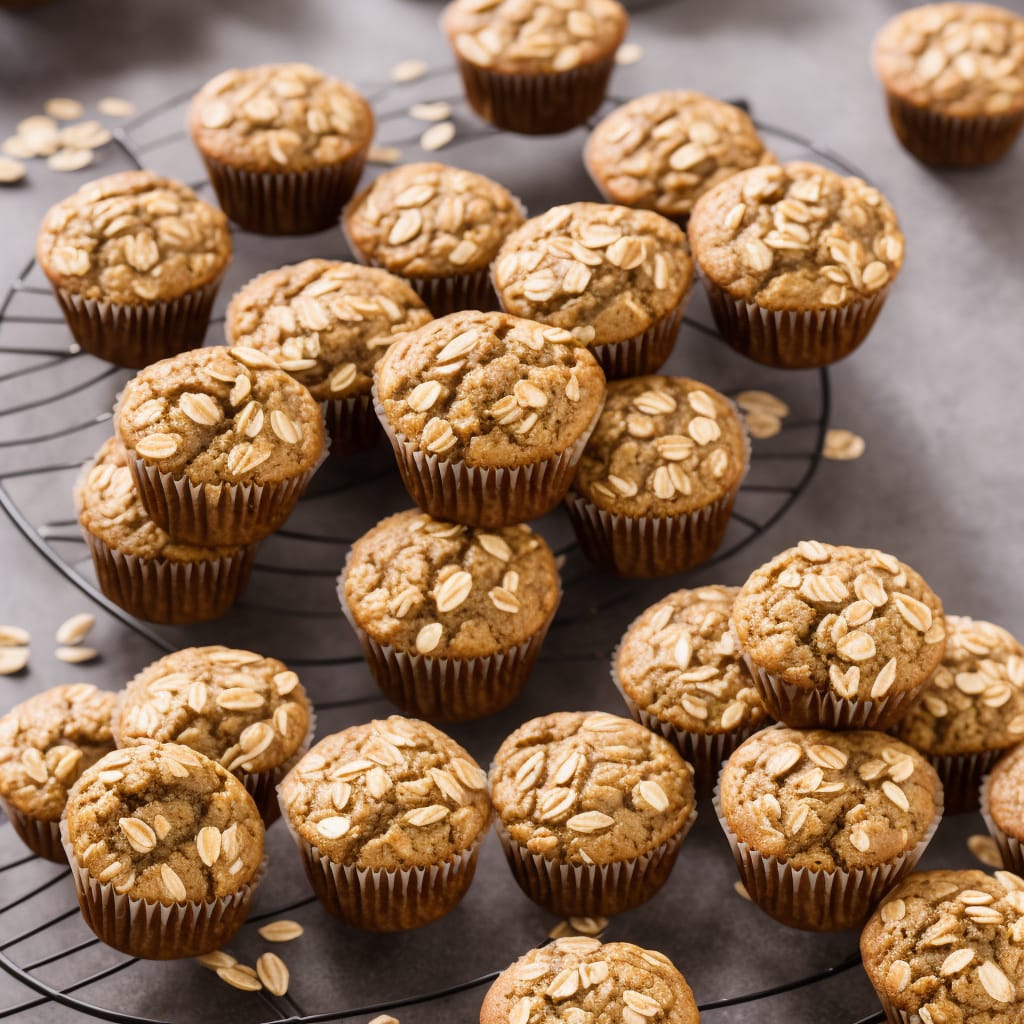
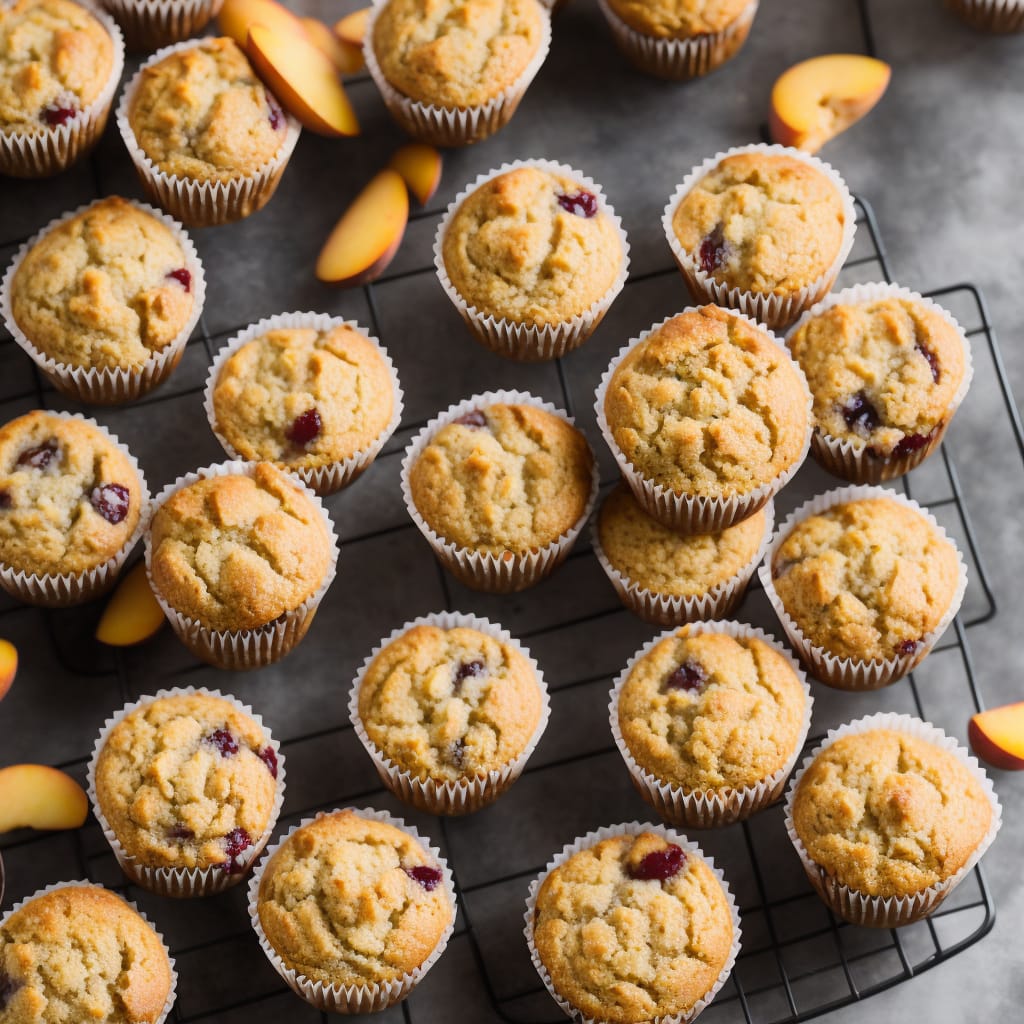
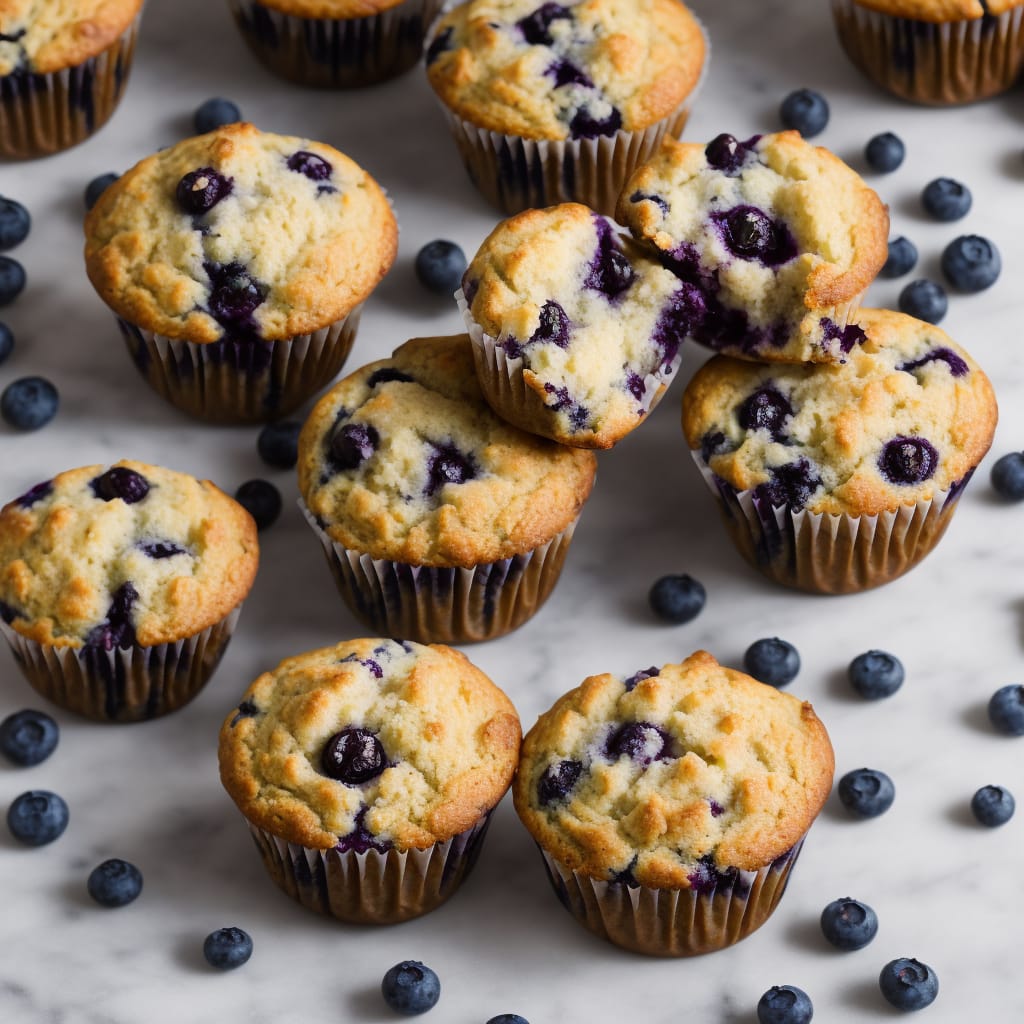
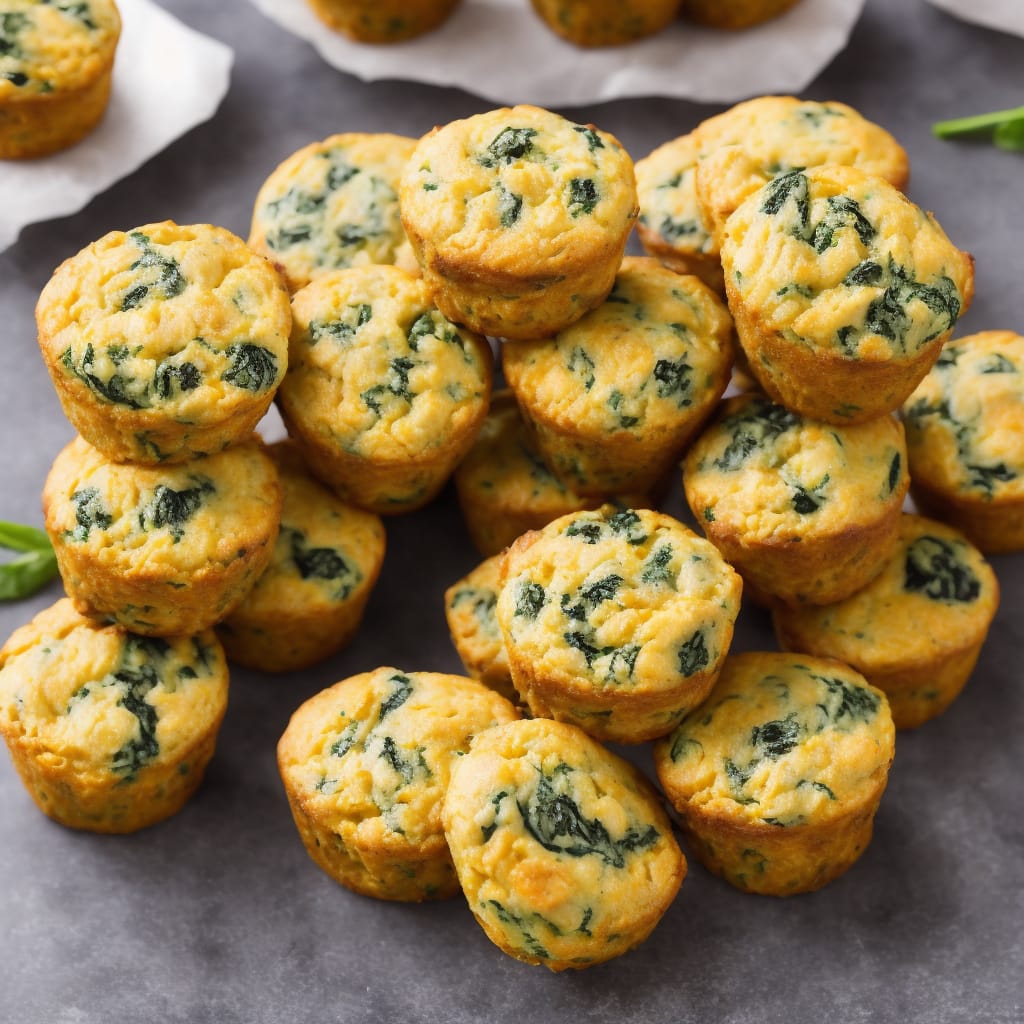
Prefer something a little denser than cupcakes? Look no further, muffins got you covered! These easy muffin recipes will help you create baked treats that are sure to win the hearts of many.
Read More
Prefer something a little denser than cupcakes? Look no further, muffins got you covered! These easy muffin recipes will help you create baked treats that are sure to win the hearts of many.
Read More
Prefer something a little denser than cupcakes? Look no further, muffins got you covered! These easy muffin recipes will help you create baked treats that are sure to win the hearts of many.
Read More
Prefer something a little denser than cupcakes? Look no further, muffins got you covered! These easy muffin recipes will help you create baked treats that are sure to win the hearts of many.
Read More
Prefer something a little denser than cupcakes? Look no further, muffins got you covered! These easy muffin recipes will help you create baked treats that are sure to win the hearts of many.
Read More
Prefer something a little denser than cupcakes? Look no further, muffins got you covered! These easy muffin recipes will help you create baked treats that are sure to win the hearts of many.
Read More
Prefer something a little denser than cupcakes? Look no further, muffins got you covered! These easy muffin recipes will help you create baked treats that are sure to win the hearts of many.
Read More
Prefer something a little denser than cupcakes? Look no further, muffins got you covered! These easy muffin recipes will help you create baked treats that are sure to win the hearts of many.
Read More
Prefer something a little denser than cupcakes? Look no further, muffins got you covered! These easy muffin recipes will help you create baked treats that are sure to win the hearts of many.
Read More
Prefer something a little denser than cupcakes? Look no further, muffins got you covered! These easy muffin recipes will help you create baked treats that are sure to win the hearts of many.
Read More
Prefer something a little denser than cupcakes? Look no further, muffins got you covered! These easy muffin recipes will help you create baked treats that are sure to win the hearts of many.
Read More
Prefer something a little denser than cupcakes? Look no further, muffins got you covered! These easy muffin recipes will help you create baked treats that are sure to win the hearts of many.
Read More
Prefer something a little denser than cupcakes? Look no further, muffins got you covered! These easy muffin recipes will help you create baked treats that are sure to win the hearts of many.
Read More
Prefer something a little denser than cupcakes? Look no further, muffins got you covered! These easy muffin recipes will help you create baked treats that are sure to win the hearts of many.
Read More
Prefer something a little denser than cupcakes? Look no further, muffins got you covered! These easy muffin recipes will help you create baked treats that are sure to win the hearts of many.
Read More
Prefer something a little denser than cupcakes? Look no further, muffins got you covered! These easy muffin recipes will help you create baked treats that are sure to win the hearts of many.
Read More
Prefer something a little denser than cupcakes? Look no further, muffins got you covered! These easy muffin recipes will help you create baked treats that are sure to win the hearts of many.
Read More
Prefer something a little denser than cupcakes? Look no further, muffins got you covered! These easy muffin recipes will help you create baked treats that are sure to win the hearts of many.
Read More
Prefer something a little denser than cupcakes? Look no further, muffins got you covered! These easy muffin recipes will help you create baked treats that are sure to win the hearts of many.
Read More
Prefer something a little denser than cupcakes? Look no further, muffins got you covered! These easy muffin recipes will help you create baked treats that are sure to win the hearts of many.
Read More
Prefer something a little denser than cupcakes? Look no further, muffins got you covered! These easy muffin recipes will help you create baked treats that are sure to win the hearts of many.
Read More
Prefer something a little denser than cupcakes? Look no further, muffins got you covered! These easy muffin recipes will help you create baked treats that are sure to win the hearts of many.
Read More
Prefer something a little denser than cupcakes? Look no further, muffins got you covered! These easy muffin recipes will help you create baked treats that are sure to win the hearts of many.
Read More
Prefer something a little denser than cupcakes? Look no further, muffins got you covered! These easy muffin recipes will help you create baked treats that are sure to win the hearts of many.
Read More
Prefer something a little denser than cupcakes? Look no further, muffins got you covered! These easy muffin recipes will help you create baked treats that are sure to win the hearts of many.
Read More
Prefer something a little denser than cupcakes? Look no further, muffins got you covered! These easy muffin recipes will help you create baked treats that are sure to win the hearts of many.
Read More
Prefer something a little denser than cupcakes? Look no further, muffins got you covered! These easy muffin recipes will help you create baked treats that are sure to win the hearts of many.
Read More